Sure Jell Recipes
… Learn more
What Makes Sure Jell Recipes So Special
There’s a certain kind of magic in a pantry lined with homemade jam. Each jar holds more than just fruit and sugar; it holds a season, a memory, a promise of sunny mornings to come. For generations, achieving that perfect, spoonable gel has been the domain of a little yellow box: Sure Jell. Today, I want to pull up a chair at my kitchen table and share with you the heartfelt joy of classic Sure Jell recipes. They are the bedrock of confident preserving, offering a reliable path to success whether you’re a first-timer or a seasoned canner. They answer that timeless question of how to capture summer’s fleeting sweetness in a way that’s both simple and utterly dependable.
I remember my grandmother’s hands, steady and sure, as she stirred a pot of bubbling strawberries. She never worried if her jam would set—that box of pectin was her trusted friend. That feeling of guaranteed success is what draws so many of us to these time-honored Sure Jell recipes. They demystify the process, turning what can feel like alchemy into a straightforward, joyful kitchen ritual. Are you wondering which fruits work best or how to even begin? You’re in the right place. Let’s walk through this beautiful, rewarding process together, step by warm-hearted step.
Table of Contents
Table of Contents
Ingredients You’ll Need
This is where we gather our bounty. Using exact measurements is the secret to success with Sure Jell recipes. Here’s what you’ll need for a classic batch:
- 4 cups crushed fruit (such as strawberries or peaches)
- 7 cups granulated sugar
- 1 box (1.75 oz) Sure Jell fruit pectin
- 1/2 teaspoon butter (optional, for reducing foam)
- Canning jars, lids, and bands
That’s it! The beauty lies in this short, simple list. The crushed fruit should be measured precisely after crushing—not before. For strawberries, I like to mash them with a potato masher until I have a nice, juicy pulp with some texture.
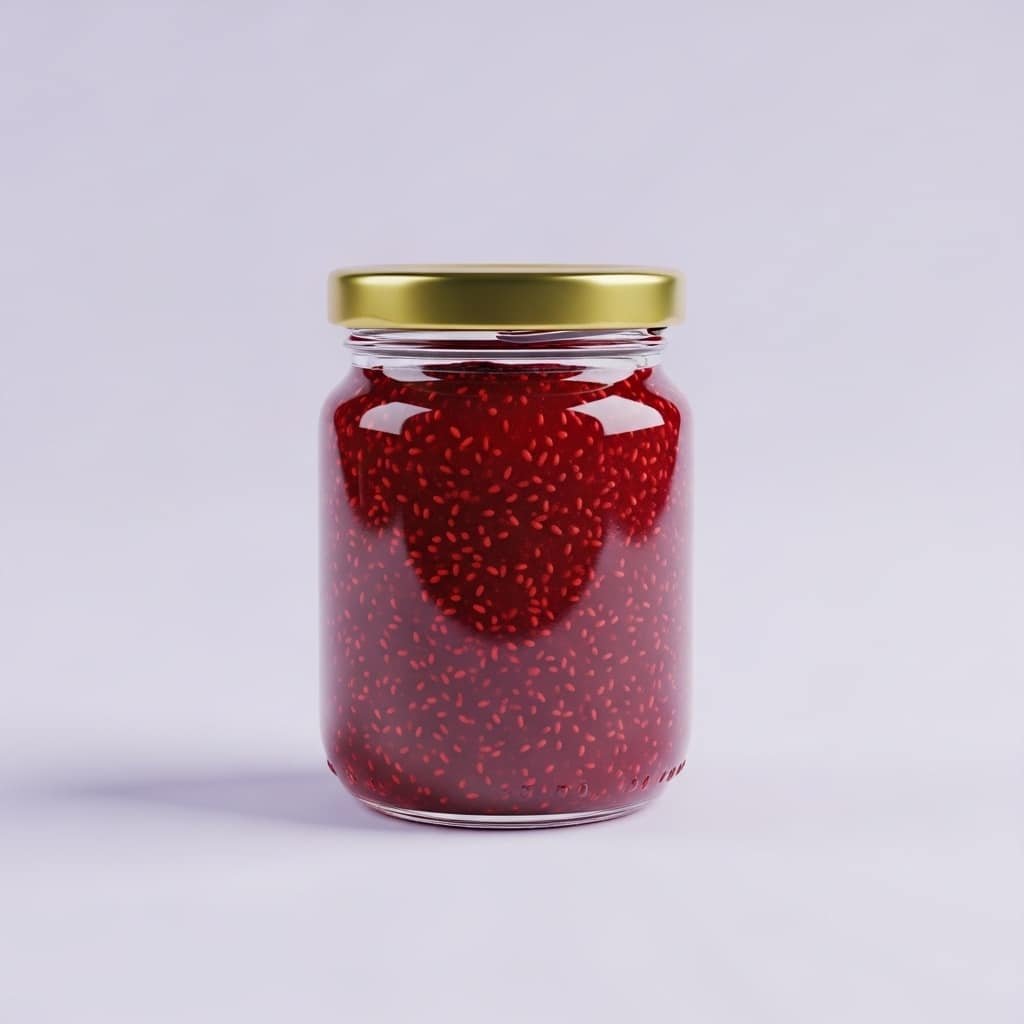
Estimated Prep & Cook Time for Sure Jell Recipes
While the active cooking time is blissfully short, remember that preserving is a gentle art that requires a little patience. Here’s a realistic timeline to help you plan your preserving session. (helpful resource)
| Task | Time |
|---|---|
| Prepping fruit & equipment | 20-30 minutes |
| Cooking the jam | 15-20 minutes |
| Jar processing & sealing | 20 minutes |
| Total Project Time | About 1 – 1.5 hours |
This doesn’t include the time for your beautiful Sure Jell recipes to cool and fully set, which can take up to 24 hours. Give yourself the gift of a relaxed afternoon for this project—it’s part of the pleasure.
Recommended Tools You’ll Need
- A heavy, non-reactive large saucepan (8-quart or larger is ideal)
- A reliable canning pot with a rack
- A set of canning jars (like these classic Mason jars)
- A jar lifter for safe handling
- A wide-mouth canning funnel
- A ladle for filling jars
- A plastic bubble remover or non-metallic spatula
- Clean cloths or paper towels for wiping rims
- wire whisk
- spoon
- gelatin powder
- granulated sugar
- Food coloring
- a serving dish or mold (a pretty bowl, a vintage mold, or even a loaf pan)
- accurate measuring cups
- an offset spatula for easy release
- a flexible silicone spatula to get every last drop.
- a measuring cup with a spout for easy pouring.
- whipped topping
- whipped cream
- potato masher
Step-by-Step Instructions
Let’s transform those beautiful ingredients into jewel-toned jars of jam. Follow these steps, and you’ll be rewarded with perfect results every time.
Prepare Your Canning Equipment
Start by washing your canning jars, lids, and bands in hot, soapy water. Place your clean jars in your canning pot, cover them with water, and bring to a simmer to keep them warm. This prevents thermal shock when you add the hot jam. Keep the lids in a separate small bowl of very hot (but not boiling) water to soften the sealing compound. (helpful resource)
Combine Fruit and Pectin
Measure exactly 4 cups of crushed fruit into your large saucepan. This precision is key for Sure Jell recipes to set correctly. Stir in the entire box of Sure Jell fruit pectin until well combined. If you’re using it, add the 1/2 teaspoon of butter now—it helps minimize foam.
Bring to a Hard Boil
Place your large saucepan over high heat. Stir the mixture constantly with a long wooden spoon to prevent scorching. Bring it to a full, rolling boil that cannot be stirred down. This is a vigorous, active boil.
Add Sugar and Boil
Once at a full boil, immediately add all 7 cups of granulated sugar at once. Stir vigorously. Return the mixture to a full, rolling boil and boil hard for exactly 1 minute, stirring nonstop. Set a timer! This precise boiling time activates the pectin.
Skim and Fill Jars
Remove the pot from the heat. Quickly skim off any foam with a spoon. Using your ladle and canning funnel, immediately ladle the hot jam into your prepared, warm canning jars, leaving 1/4 inch of headspace. Use your plastic bubble remover to slide down the inside of the jar and release any trapped air bubbles.
Seal and Process
Wipe the jar rims clean with a damp cloth. Place a lid on each jar, then screw a band on until it’s fingertip tight—just snug, not forced. Using your jar lifter, carefully lower the filled jars back into the simmering water of your canning pot. Ensure the water covers the jars by 1-2 inches. Bring to a full boil and process for 10 minutes. Turn off the heat, let sit for 5 minutes, then remove and let cool undisturbed for 12-24 hours.
Pro Tips & Tasty Tweaks
After decades of making jam, I’ve picked up a few tricks that make the process even sweeter. Here are my favorite ways to add a personal touch to these classic Sure Jell recipes.
- Flavor Fusion: Add a teaspoon of vanilla bean paste or a sprig of fresh rosemary to the strawberries as they cook for a sophisticated twist. For peaches, a dash of almond extract or a pinch of cardamom is divine.
- The Sugar Question: Never reduce the sugar in traditional Sure Jell recipes unless you use a pectin formulated for lower sugar. The sugar is crucial for both texture and preservation. For a lighter option, look for the “Sure Jell for Less or No Sugar Needed” variety.
- Perfect Set Every Time: If you’re nervous about your jam setting, do a plate test. Before you start, put a few small plates in the freezer. When the cook time is done, place a small spoonful of jam on a cold plate. Let it sit for a minute, then push it with your finger. If it wrinkles, it’s set!
- Gifting with Heart: Wipe cooled jars with a vinegar-dampened cloth to remove any sticky residue. Tie a fabric square over the lid with twine, and attach a handwritten label with the date and flavor. It’s a gift of love and time.
Sure Jell Recipes
… Learn more
Ingredients
Instructions
- Prepare Your Canning Equipment Start by washing your canning jars , lids, and bands in hot, soapy water. Place your clean jars in your canning pot , cover them with water, and bring to a simmer to keep them warm. This prevents thermal shock when you add the hot jam. Keep the lids in a separate small bowl of very hot (but not boiling) water to soften the sealing compound. (helpful resource)
- Combine Fruit and Pectin Measure exactly 4 cups of crushed fruit into your large saucepan . This precision is key for Sure Jell recipes to set correctly. Stir in the entire box of Sure Jell fruit pectin until well combined. If you’re using it, add the 1/2 teaspoon of butter now—it helps minimize foam.
- Bring to a Hard Boil Place your large saucepan over high heat. Stir the mixture constantly with a long wooden spoon to prevent scorching. Bring it to a full, rolling boil that cannot be stirred down. This is a vigorous, active boil.
- Add Sugar and Boil Once at a full boil, immediately add all 7 cups of granulated sugar at once. Stir vigorously. Return the mixture to a full, rolling boil and boil hard for exactly 1 minute, stirring nonstop. Set a timer! This precise boiling time activates the pectin.
- Skim and Fill Jars Remove the pot from the heat. Quickly skim off any foam with a spoon . Using your ladle and canning funnel , immediately ladle the hot jam into your prepared, warm canning jars , leaving 1/4 inch of headspace. Use your plastic bubble remover to slide down the inside of the jar and release any trapped air bubbles.
- Seal and Process Wipe the jar rims clean with a damp cloth. Place a lid on each jar, then screw a band on until it’s fingertip tight—just snug, not forced. Using your jar lifter , carefully lower the filled jars back into the simmering water of your canning pot . Ensure the water covers the jars by 1-2 inches. Bring to a full boil and process for 10 minutes. Turn off the heat, let sit for 5 minutes, then remove and let cool undisturbed for 12-24 hours.