Pepper Jelly Recipe
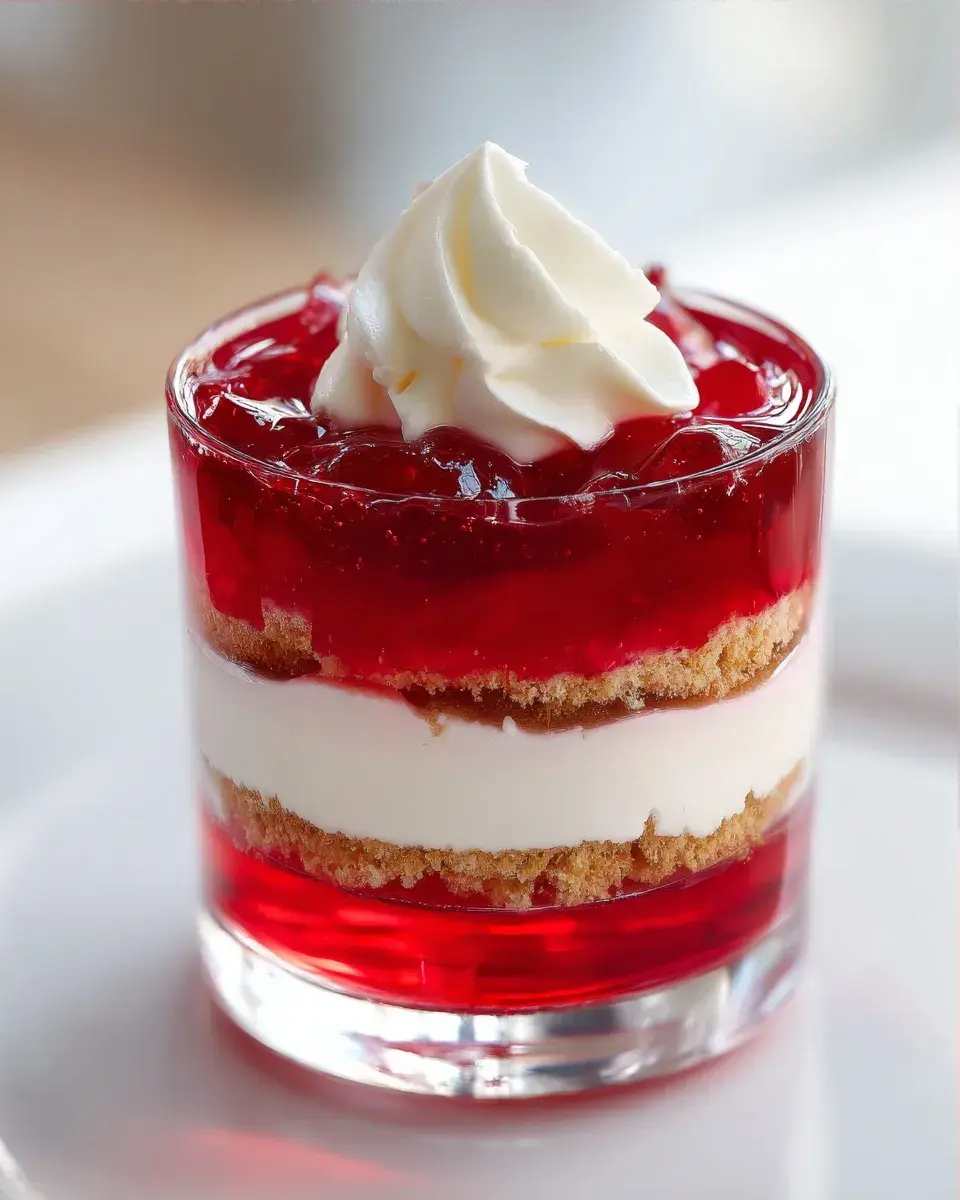
Make this easy pepper jelly recipe! Sweet heat in minutes. Perfect appetizer with cream cheese and crackers. Plus, nutrition facts and tips!
Craving a sweet and spicy kick? This pepper jelly recipe is your answer! Forget those store-bought jars loaded with preservatives and questionable ingredients. You can whip up a batch of this flavorful condiment in your own kitchen in no time. It’s the perfect balance of sweet peppers and a touch of heat, creating a taste sensation that’s incredibly versatile. I get it, sometimes you just want something easy and delicious without the fuss. And honestly, that’s what this recipe is all about. It’s straightforward, uses simple ingredients, and delivers amazing flavor every time. This pepper jelly recipe is not only delicious but also a fun way to experiment with different pepper varieties to customize the heat level to your liking. Whether you’re a fan of mild sweetness or a fiery kick, you can adjust the peppers to suit your taste. So, ditch the processed stuff and get ready to enjoy a homemade pepper jelly that’s both satisfying and surprisingly simple to make.
| Prep Time | 10 | Cook Time | 25 |
| Servings | 4 | Calories | 210 kcal |
Ingredients
- 1 cup finely diced red bell pepper
- 1/2 cup finely diced green bell pepper
- 1-2 jalapeño peppers, seeded and minced (adjust to your spice preference)
- 1/4 cup apple cider vinegar
- 1 cup granulated sugar
- 1/4 cup strained red bell pepper juice (from blending and straining extra bell pepper)
- 1 package (3 ounces) liquid pectin
Kitchen Gear Required
| Tool | Why You Need It |
|---|---|
| Medium Saucepan | Essential for cooking the jelly mixture evenly. |
| Sterilized Jars | For safe and proper storage of the finished jelly. |
| Fine-Mesh Sieve | To strain the bell pepper juice for a smooth texture. |
| Canning Kit (optional) | If you plan to process the jars for long-term storage. |
Calories — The Honest Number
At 210 calories per serving, this pepper jelly should be enjoyed in moderation, especially if you’re aiming for weight management. Consider it a treat or condiment rather than a main dish, and factor it into your daily calorie goals. A small serving can add flavor without significantly impacting your overall intake.
About Your Daily Budget: Your TDEE (Total Daily Energy Expenditure) determines how many calories you burn daily. If your intake consistently exceeds your TDEE, weight gain is likely. This jelly, while delicious, contributes to your daily calorie count.
Diet Pairing Guide
Compatible with: Vegetarian, Gluten-Free
Not compatible with: Keto, Low-Carb, Diabetic (due to sugar content)
Warning: Mixing Diets: Be cautious when pairing this pepper jelly with high-fat foods. The combination of simple sugars from the jelly and fats can promote lipogenesis, the process where your body stores excess energy as fat. Enjoy in moderation and balance with lean protein and fiber-rich foods.
Pro Tips for Better Results
For a richer flavor, try roasting the bell peppers before dicing them. This will bring out their natural sweetness. When aiming for weight loss, be mindful of portion sizes. A small dollop of pepper jelly can add flavor without derailing your progress. Use a small spoon to control the amount you add to your serving.
The Macro Picture
This pepper jelly is predominantly carbohydrates, mainly from sugar. It provides minimal protein and fat. Fiber content is also low. If you’re monitoring your macros, be mindful of the sugar content and adjust your other food choices accordingly.
Nutrition Information (per serving)
| Calories | Protein | Carbs | Fat | Fiber |
|---|---|---|---|---|
| 210 kcal | 0.5g | 52g | 0.2g | 1g |
Pepper Jelly Recipe
Make this easy pepper jelly recipe! Sweet heat in minutes. Perfect appetizer with cream cheese and crackers. Plus, nutrition facts and tips!
Ingredients
Instructions
- Prepare the peppers: Finely dice the bell peppers and jalapeño peppers. For less heat, remove the seeds and membranes from the jalapeños.
- Combine ingredients: In a medium saucepan , combine the diced bell peppers, jalapeño peppers, apple cider vinegar, and sugar.
- Cook the mixture: Bring the mixture to a rolling boil over medium-high heat, stirring constantly to prevent scorching.
- Add pectin: Once boiling, add the liquid pectin and continue stirring constantly for 1 minute.
- Remove from heat: Remove the saucepan from the heat.
- Skim foam: Skim off any foam that forms on the surface of the jelly.
- Pour into jars: Carefully pour the hot jelly into sterilized jars, leaving 1/4 inch headspace.
- Process (optional): For longer storage, process the jars in a boiling water bath for 10 minutes. Otherwise, let cool completely at room temperature. The jelly will set as it cools.