Gelatin Jello
… Learn more
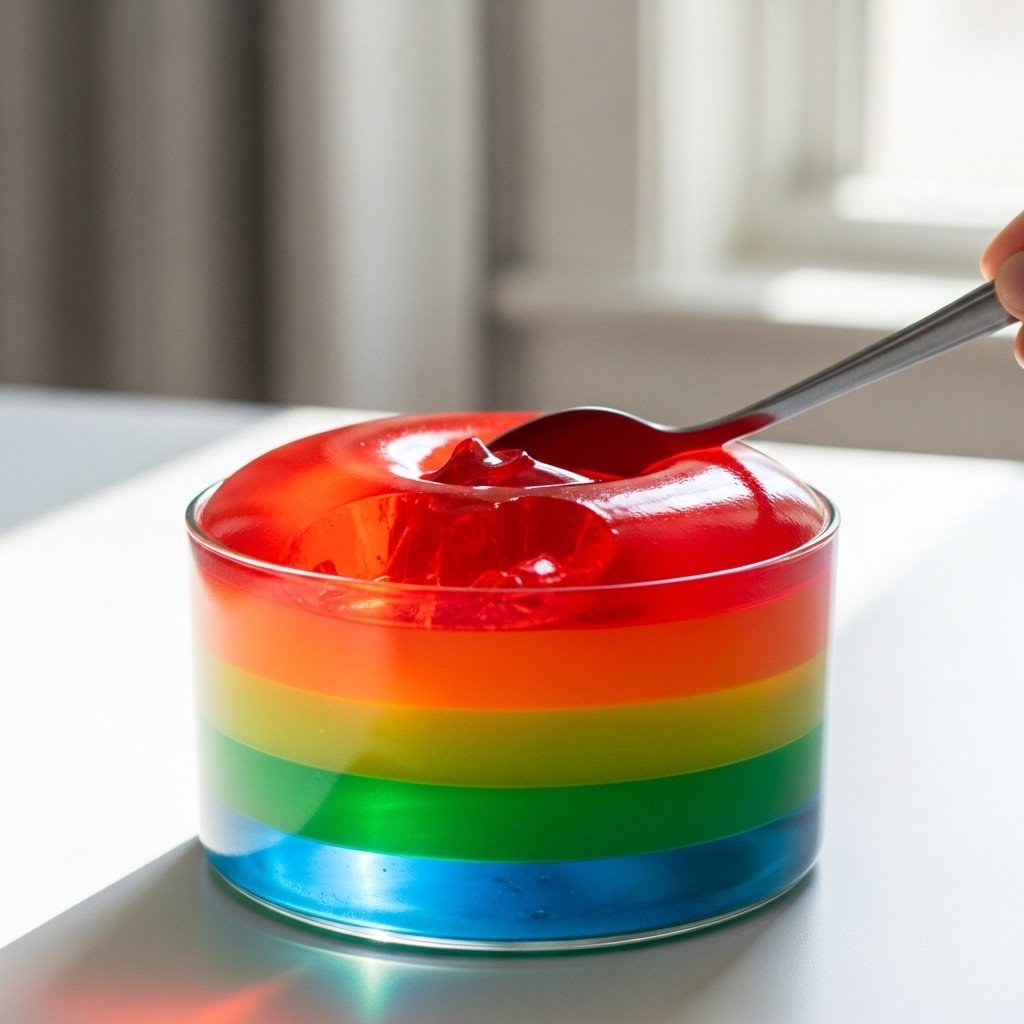
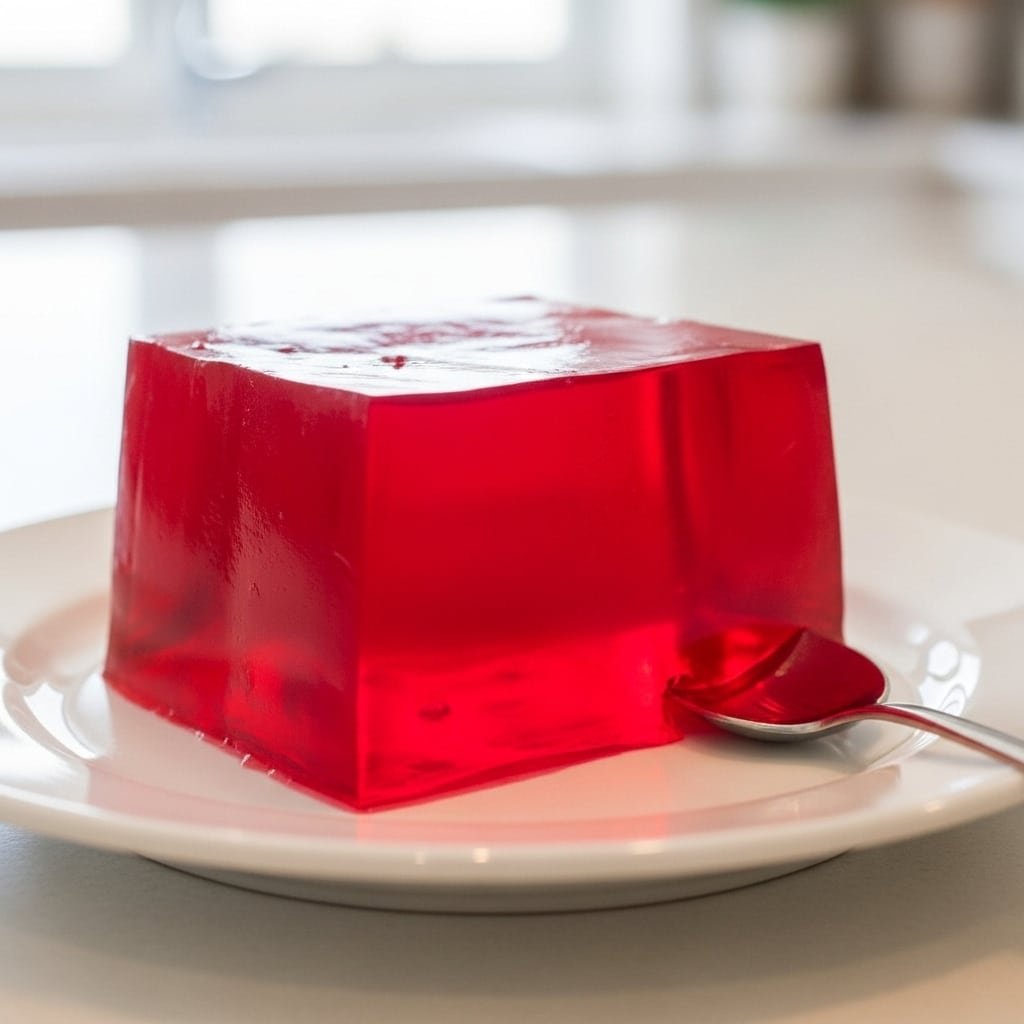
There’s something utterly magical about gelatin jello. It’s more than just a dessert; it’s a wobbly, joyful memory on a plate, reminiscent of family gatherings, summer picnics, and the simple pleasure of something sweet and cool. Whether you call it jelly, jello, or by its proper name, this timeless treat has a way of bringing smiles to faces young and old.
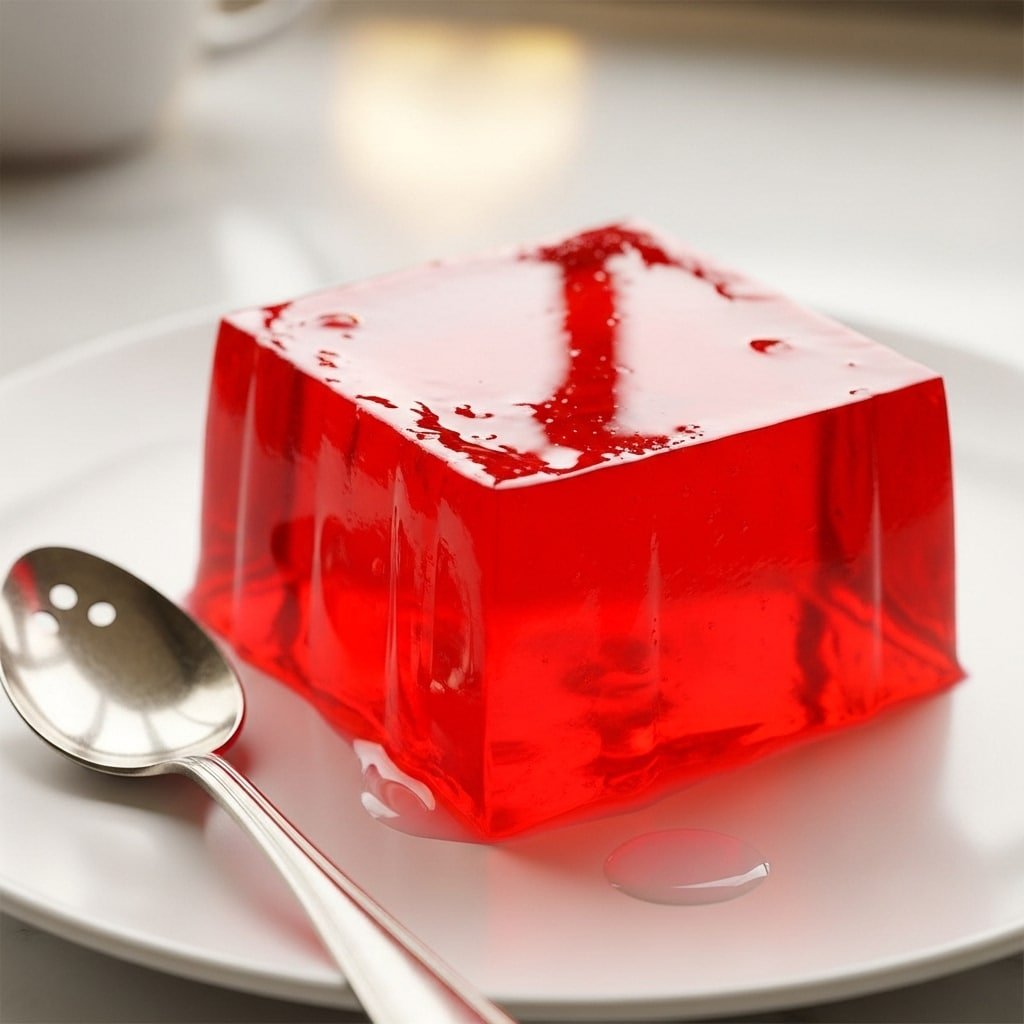
I remember my grandmother’s crystal bowl, always filled with shimmering, ruby-red gelatin jello at holiday dinners. She’d wink and say, “It’s not a party without the jiggle!” That sense of celebration, of making ordinary moments special, is what I love about homemade gelatin jello. It’s a canvas for creativity and a spoonful of nostalgia.
You might be wondering, “How do I make gelatin jello from scratch?” or “Can I really use fresh fruit in it?” Well, darling, the answers are simpler and more delightful than you think. This humble dessert is a gateway to kitchen confidence and sweet, shared memories. (helpful resource)
Table of Contents
Table of Contents
Ingredients You’ll Need
Gathering your ingredients is the first step to creating perfect gelatin jello. The beauty of this recipe is in its simplicity and the quality of what you choose. Here’s what you’ll need to make one lovely mold or dish.
- 1 packet (2 1/4 teaspoons) unflavored gelatin
- 1/4 cup cold water
- 1 cup fruit juice (such as orange, apple, or grape)
- 1/4 cup sugar
- Optional: fresh fruit pieces or food coloring
Estimated Prep & Cook Time for gelatin jello
One of the joys of gelatin jello is that the active time is minimal, though patience is required for it to set into that perfect, jiggly consistency. Here’s a clear breakdown of the time investment for this recipe.
| Activity | Time |
|---|---|
| Preparation & Cooking | 15 minutes |
| Setting (Refrigeration) | 4 hours minimum |
| Total Time (until serving) | 4 hours 15 minutes |
Remember, the setting time is crucial for your gelatin jello to achieve the right texture. While four hours is the minimum, letting it chill overnight often yields the best, firmest results. This hands-off time is perfect for preparing the rest of your meal or simply anticipating the delight to come.
Recommended Tools You’ll Need
- Small mixing bowl
- Saucepan
- Whisk or stirring spoon
- Measuring cups and spoons
- Mold or serving dish (glass or ceramic works beautifully)
- Refrigerator
- wire whisk
- Food coloring
- a serving dish or mold (a pretty bowl, a vintage mold, or even a loaf pan)
- vegetable oil
- whipped topping
Step-by-Step Instructions
Now, let’s walk through the process together. Making gelatin jello is a gentle, almost meditative practice. Follow these steps, and you’ll have a stunning dessert ready in no time.
- Bloom the Gelatin: In your small mixing bowl, sprinkle the unflavored gelatin evenly over the cold water. Let it sit for 5 minutes. This “blooming” step is essential—it allows the gelatin granules to absorb water and swell, ensuring they dissolve smoothly later without any lumps.
- Dissolve the Sugar: Meanwhile, pour your chosen fruit juice into a saucepan. Add the sugar. Heat this mixture over medium heat, stirring gently with a whisk or spoon, just until the sugar completely dissolves. You don’t need to boil it; warm is perfect.
- Combine Gelatin and Juice: Remove the saucepan from the heat. Immediately add the bloomed gelatin mixture from the small bowl. Stir diligently with your whisk until the gelatin is fully dissolved and the liquid is clear. This is the heart of your gelatin jello.
- Add Color or Fruit: This is where you personalize your creation. If using food coloring, add a drop or two now and stir. If adding fresh fruit pieces like berries or diced peaches, let the liquid cool for about 10-15 minutes before gently folding them in. This prevents the fruit from floating or sinking.
- Pour into Mold: Carefully pour the liquid into your prepared mold or serving dish. For easy unmolding, you can lightly spray the mold with cooking spray first, though it’s not always necessary.
- Chill to Set: Place the filled mold in the refrigerator. Allow your gelatin jello to set undisturbed for at least 4 hours, or until it is completely firm to the touch.
- Unmold with Care: To release your masterpiece, dip the bottom of the mold in a bowl of warm water for 10-15 seconds. Dry the bottom, place a serving plate on top, and with confidence, invert it. Give it a gentle shake, and it should slide out beautifully.
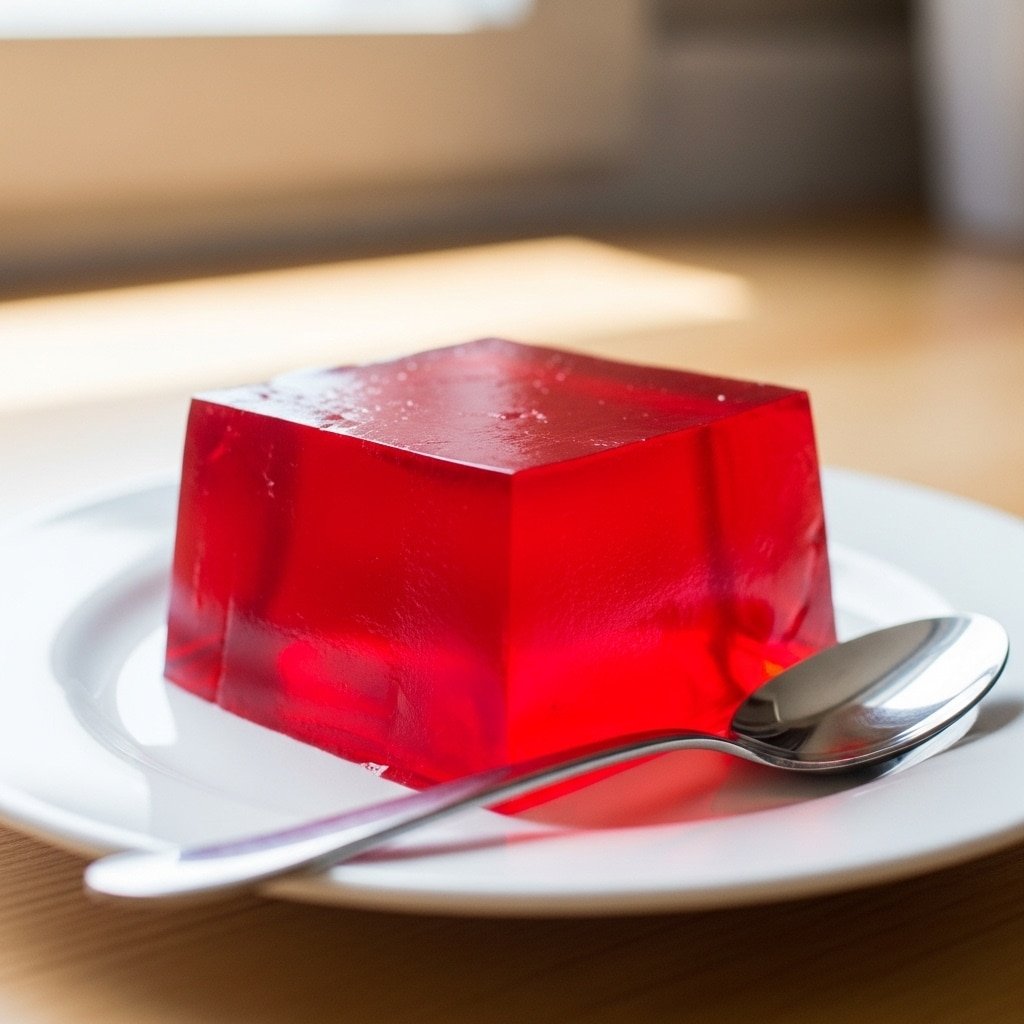
- Serve and Savor: Your homemade gelatin jello is ready! Serve it chilled, cut into squares or slices, and enjoy the fruits of your simple labor.
Pro Tips & Tasty Tweaks
Over the years, I’ve picked up a few tricks that can elevate your gelatin jello from good to grand. Here are some of my favorite ways to play with this classic.
- Flavor Fusions: Don’t limit yourself to single juices. Try blending cranberry with orange, or pineapple with coconut water for a tropical twist. Herbal teas, cooled and sweetened, also make wonderfully sophisticated gelatin jello.
- Dietary Tweaks: For a sugar-free gelatin jello, simply replace the sugar with your preferred granulated sweetener that measures like sugar. The process remains exactly the same.
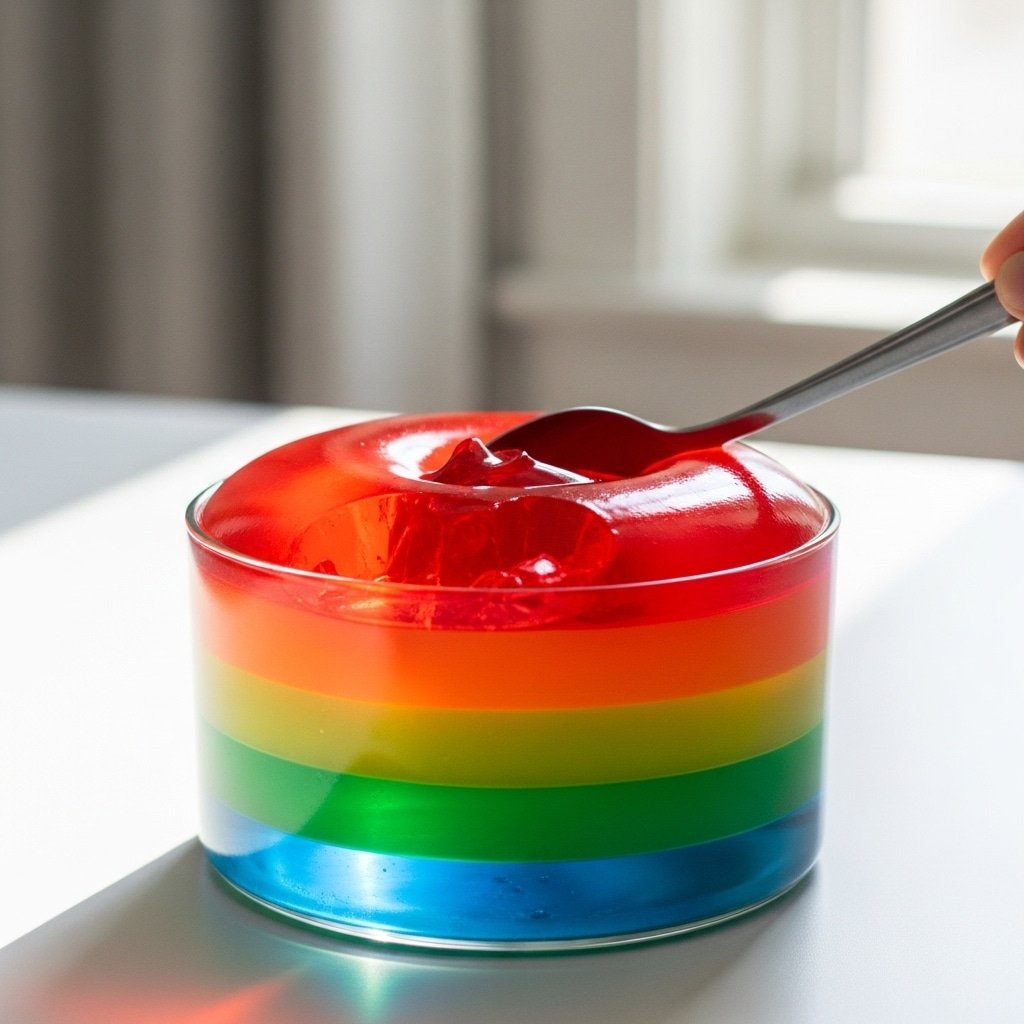
- The Perfect Set: If you’re in a hurry, pour your mixture into a shallow, wide dish instead of a deep mold. It will set in half the time. For layered gelatin jello, let each layer set almost completely before gently pouring the next, slightly cooled layer on top.
- Storage Smarts: Homemade gelatin jello keeps beautifully in the refrigerator, covered, for up to 5 days. It’s best enjoyed cold, as it can start to soften at room temperature.
Healthier Alternatives for gelatin jello
One of the most common questions I hear is, “Can I make a healthier version of gelatin jello?” Absolutely, you can! With a few smart swaps, you can tailor this dessert to fit various dietary preferences without losing its joyful essence.
| Traditional Ingredient | Healthier Swap | Notes & Tips |
|---|---|---|
| Refined White Sugar | Raw honey, pure maple syrup, or monk fruit sweetener | Use an equal amount by volume. Note that liquid sweeteners may slightly alter the setting texture, but the result is still delicious. |
| Sweetened Fruit Juice | Freshly squeezed juice, unsweetened 100% juice, or infused water | This significantly reduces added sugars. For infused water, try cucumber-mint or lemon-berry for a subtle, refreshing flavor. |
| Standard Gelatin | Agar-agar powder (vegetarian) | Agar-agar sets firmer and at room temperature. Use about 1 teaspoon per cup of liquid, but always follow your specific brand’s instructions. |
Gelatin Jello
… Learn more
Ingredients
Instructions
- Bloom the Gelatin: In your small mixing bowl , sprinkle the unflavored gelatin evenly over the cold water . Let it sit for 5 minutes. This “blooming” step is essential—it allows the gelatin granules to absorb water and swell, ensuring they dissolve smoothly later without any lumps.
- Dissolve the Sugar: Meanwhile, pour your chosen fruit juice into a saucepan . Add the sugar . Heat this mixture over medium heat, stirring gently with a whisk or spoon , just until the sugar completely dissolves. You don’t need to boil it; warm is perfect.
- Combine Gelatin and Juice: Remove the saucepan from the heat. Immediately add the bloomed gelatin mixture from the small bowl . Stir diligently with your whisk until the gelatin is fully dissolved and the liquid is clear. This is the heart of your gelatin jello.
- Add Color or Fruit: This is where you personalize your creation. If using food coloring , add a drop or two now and stir. If adding fresh fruit pieces like berries or diced peaches, let the liquid cool for about 10-15 minutes before gently folding them in. This prevents the fruit from floating or sinking.
- Pour into Mold: Carefully pour the liquid into your prepared mold or serving dish . For easy unmolding, you can lightly spray the mold with cooking spray first, though it’s not always necessary.
- Chill to Set: Place the filled mold in the refrigerator. Allow your gelatin jello to set undisturbed for at least 4 hours, or until it is completely firm to the touch.
- Unmold with Care: To release your masterpiece, dip the bottom of the mold in a bowl of warm water for 10-15 seconds. Dry the bottom, place a serving plate on top, and with confidence, invert it. Give it a gentle shake, and it should slide out beautifully.
- Serve and Savor: Your homemade gelatin jello is ready! Serve it chilled, cut into squares or slices, and enjoy the fruits of your simple labor.