Emerald apple cider gel blocks
… Learn more
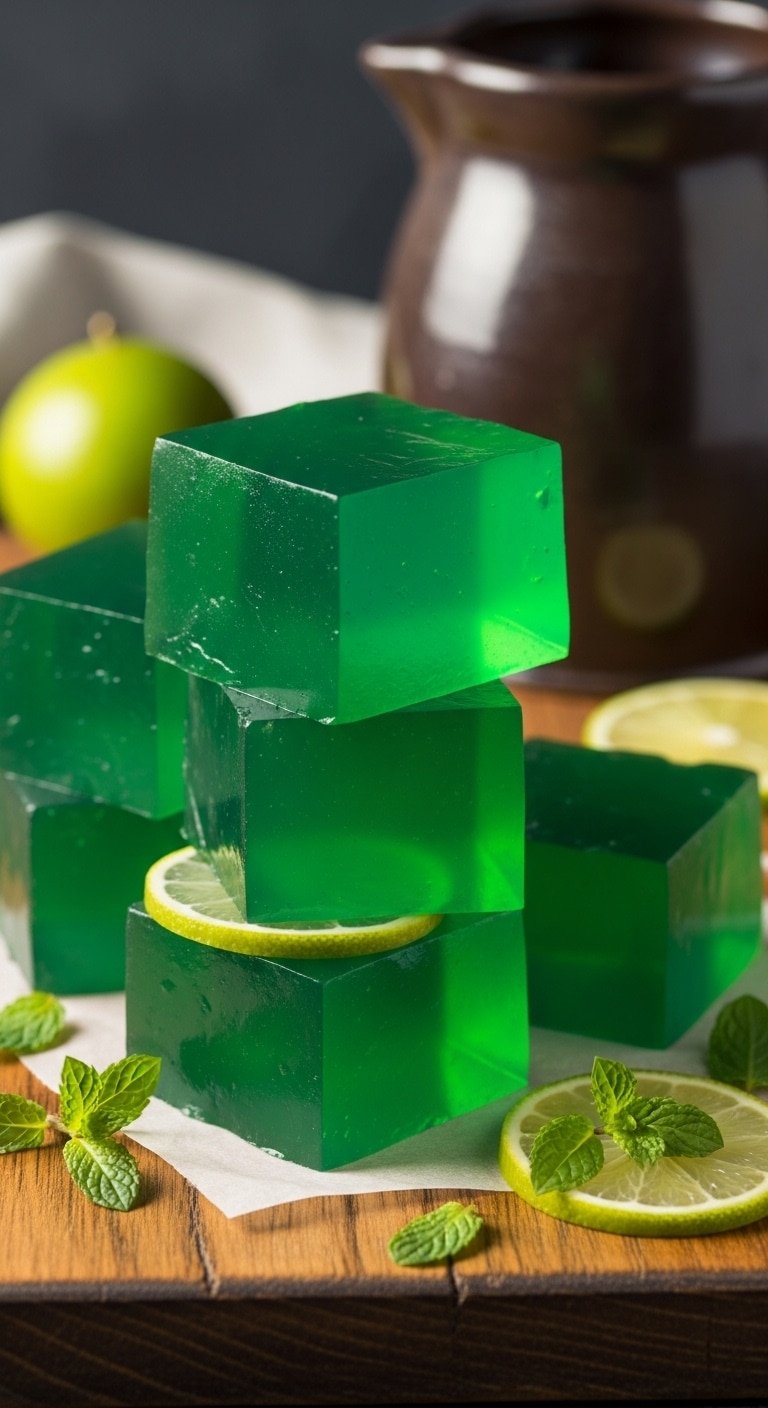
If you have been searching for a show-stopping treat that feels as magical as it looks, these Emerald Apple Cider Gel Blocks are about to become your new obsession. With their jewel-toned green hue, gentle apple cider tang, and that satisfying, wobbly bite, they sit somewhere between a refreshing summer snack and an elegant autumn appetizer. Whether you are hosting a dinner party, looking for a wholesome after-school treat for grandchildren, or simply craving something a little different on a quiet Sunday afternoon, these stunning gel blocks deliver on every level. They are naturally gluten-free, endlessly customizable, and surprisingly simple to pull together with pantry staples you likely already have on hand.
The first time I made anything remotely like these, I was standing in my mother’s avocado-green kitchen sometime in the late 1980s. She had a thing for gelatin molds — the wobblier and more elaborate, the better. I remember watching her unmold a perfectly domed ring of lime gelatin onto a chipped china plate, holding my breath as it slid free in one glorious, quivering piece. We ate it with dollops of whipped cream at the kitchen table, laughing about nothing in particular. That memory lives in my chest like a warm ember, and every time I make these Emerald Apple Cider Gel Blocks, I feel that same flutter of childlike delight. I hope they bring a little of that magic to your kitchen too.
Table of Contents
Table of Contents
Ingredients You’ll Need
- 2 cups fresh-pressed apple cider (unfiltered, for the best flavor and natural color)
- 1 cup green apple juice (cold-pressed preferred for a brighter emerald tone)
- 3 tablespoons unflavored gelatin powder (or 4 teaspoons agar-agar for a vegan version)
- 3 tablespoons raw honey or pure maple syrup, adjusted to taste
- 1 tablespoon fresh lemon juice
- 1 teaspoon pure vanilla extract
- 1/2 teaspoon matcha powder (sifted, for that signature emerald color)
- A small pinch of fine sea salt
- Neutral cooking spray or a tiny amount of coconut oil for greasing the pan
Estimated Prep & Cook Time for Emerald Apple Cider Gel Blocks
| Prep | 15 minutes |
|---|---|
| Cook | 10 minutes |
| Total | 25 minutes active (plus 3 to 4 hours chilling) |
| Servings | 4 |
Step-by-Step Instructions
- Bloom the gelatin. Pour 1/2 cup of the apple cider into a medium mixing bowl. Sprinkle the unflavored gelatin powder evenly over the surface. Use a small whisk to gently stir, then let it sit undisturbed for 5 minutes so the gelatin can bloom and absorb the liquid fully.
- Warm the remaining cider. In a small saucepan set over medium-low heat, combine the remaining 1 and 1/2 cups of apple cider with the green apple juice. Warm the mixture until it just begins to steam — do not let it boil. Use a wooden spoon to give it an occasional gentle stir.
- Whisk in the matcha. Remove the saucepan from the heat. Add the sifted matcha powder to the warm liquid and whisk vigorously with a balloon whisk until completely smooth and no green clumps remain. This step is the key to achieving that beautiful, even emerald color.
- Combine with bloomed gelatin. Carefully pour the warm matcha-cider liquid into the bowl containing the bloomed gelatin. Stir steadily with a silicone spatula until the gelatin has completely dissolved and the mixture looks uniform and glossy.
- Season and sweeten. Add the raw honey or maple syrup, fresh lemon juice, vanilla extract, and pinch of sea salt. Whisk everything together for about 30 seconds until fully incorporated. Taste and adjust sweetness if needed.
- Pour into the pan. Lightly grease an 8×8 inch square baking dish or a silicone mold with cooking spray or a thin layer of coconut oil applied with a pastry brush. Pour the emerald liquid through a fine-mesh strainer into the prepared dish to catch any undissolved bits.
- Chill until set. Let the dish cool to room temperature for about 20 minutes, then cover tightly with plastic wrap and transfer to the refrigerator. Allow it to set for a minimum of 3 hours, or overnight for the firmest, cleanest cuts.
- Cut and serve. Once fully set, use a sharp chef’s knife to slice the gel into neat squares or rectangles. Run the knife under warm water between cuts for perfectly clean edges. Use a flat spatula to lift the blocks gently onto a serving platter.
Pro Tips & Tasty Tweaks
- Cold liquid first, always. Always bloom your gelatin in cold or room-temperature liquid before adding heat. Pouring hot liquid directly onto dry gelatin causes clumping that is nearly impossible to fix.
- Deepen the color naturally. A small handful of fresh spinach blended briefly with the apple juice then strained out will intensify the emerald tone without adding any vegetal flavor whatsoever.
- Add a sparkling twist. Swap half of the apple cider for sparkling apple cider after the mixture has cooled slightly before pouring into the mold. This adds gentle effervescence and a more complex flavor profile.
- Make it a layered showpiece. Pour half the mixture into the mold, let it set for 45 minutes in the fridge, then pour a plain vanilla coconut cream layer on top, and finish with the remaining emerald layer for a stunning three-layer effect.
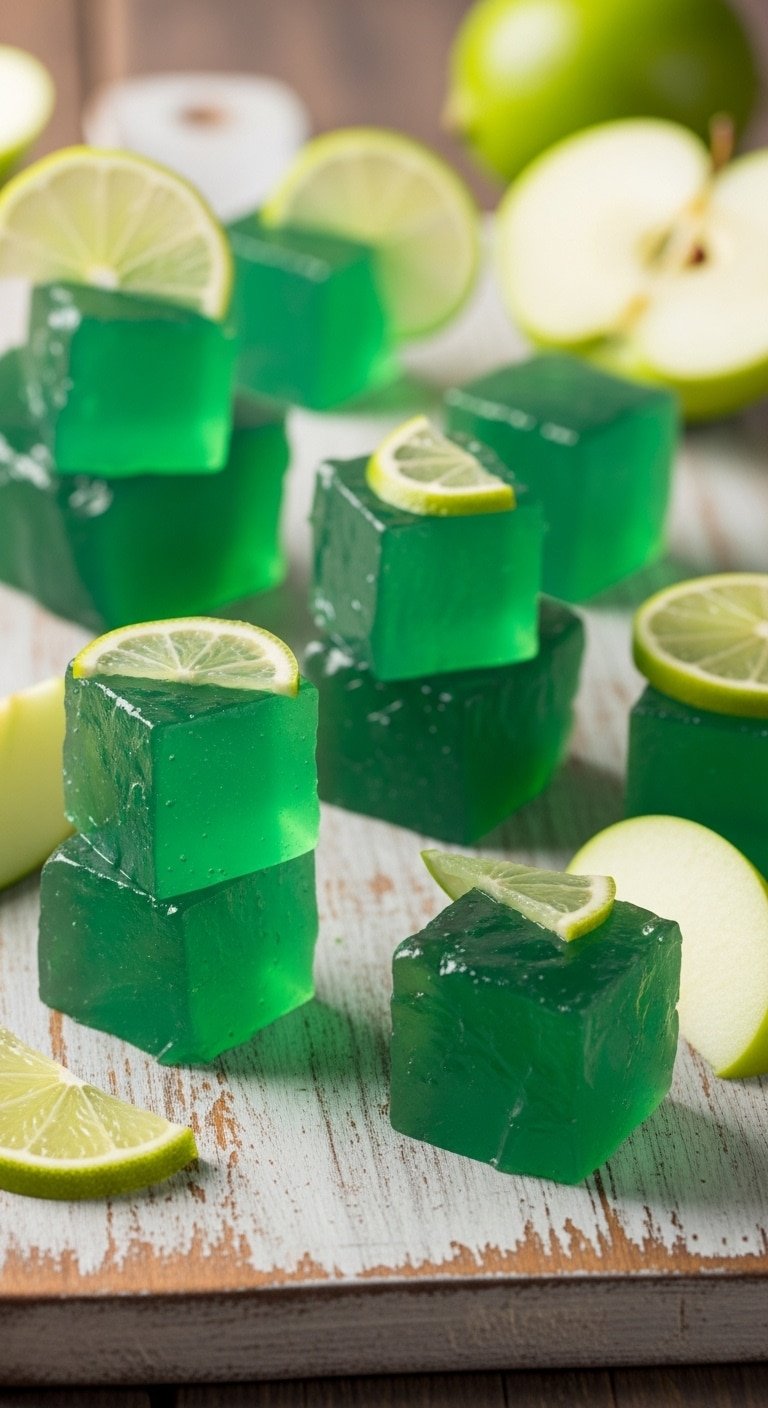
Healthier Alternatives for Emerald Apple Cider Gel Blocks
One of the things I adore most about making Emerald Apple Cider Gel Blocks at home is how effortlessly the recipe bends to fit virtually any dietary preference or wellness goal. If you are watching your sugar intake, simply replace the honey or maple syrup with a few drops of pure liquid stevia or monk fruit sweetener, starting with just a quarter teaspoon and adjusting from there since these sweeteners are significantly more potent than sugar by volume.
For anyone following a vegan or plant-based lifestyle, agar-agar is your best friend here. Use four teaspoons of agar-agar powder in place of the gelatin, but note that agar sets firmer and faster than animal-based gelatin, so pour your mixture into the mold without lingering once it is mixed. Agar also benefits from being boiled briefly — simmer it in your cider for two full minutes while stirring to ensure it dissolves completely and sets reliably.
If you are mindful of your caffeine intake, you can skip the matcha entirely and instead achieve that gorgeous green color with a teaspoon of spirulina powder or a tablespoon of fresh cucumber juice. Neither will overpower the apple flavor, and both add a genuine nutritional boost that makes these Emerald Apple Cider Gel Blocks feel like a genuinely nourishing treat rather than a guilty pleasure. You can also reduce the overall sweetener by half if you are using naturally sweet, unfiltered fresh-pressed cider, since good quality cider already carries plenty of natural fruit sugar on its own.
Emerald apple cider gel blocks
… Learn more
Ingredients
Instructions
- Bloom the gelatin. Pour 1/2 cup of the apple cider into a medium mixing bowl . Sprinkle the unflavored gelatin powder evenly over the surface. Use a small whisk to gently stir, then let it sit undisturbed for 5 minutes so the gelatin can bloom and absorb the liquid fully.
- Warm the remaining cider. In a small saucepan set over medium-low heat, combine the remaining 1 and 1/2 cups of apple cider with the green apple juice. Warm the mixture until it just begins to steam — do not let it boil. Use a wooden spoon to give it an occasional gentle stir.
- Whisk in the matcha. Remove the saucepan from the heat. Add the sifted matcha powder to the warm liquid and whisk vigorously with a balloon whisk until completely smooth and no green clumps remain. This step is the key to achieving that beautiful, even emerald color.
- Combine with bloomed gelatin. Carefully pour the warm matcha-cider liquid into the bowl containing the bloomed gelatin. Stir steadily with a silicone spatula until the gelatin has completely dissolved and the mixture looks uniform and glossy.
- Season and sweeten. Add the raw honey or maple syrup, fresh lemon juice, vanilla extract, and pinch of sea salt. Whisk everything together for about 30 seconds until fully incorporated. Taste and adjust sweetness if needed.
- Pour into the pan. Lightly grease an 8×8 inch square baking dish or a silicone mold with cooking spray or a thin layer of coconut oil applied with a pastry brush. Pour the emerald liquid through a fine-mesh strainer into the prepared dish to catch any undissolved bits.
- Chill until set. Let the dish cool to room temperature for about 20 minutes, then cover tightly with plastic wrap and transfer to the refrigerator. Allow it to set for a minimum of 3 hours, or overnight for the firmest, cleanest cuts.
- Cut and serve. Once fully set, use a sharp chef’s knife to slice the gel into neat squares or rectangles. Run the knife under warm water between cuts for perfectly clean edges. Use a flat spatula to lift the blocks gently onto a serving platter.